DIY Photoshoot Guide
High-quality photos help you share your story and get guests excited about booking. This guide covers how to capture and choose the images that best showcase your experience.

Getting started
1
Ask a friend to help
Have a friend photograph the experience so you can stay focused on hosting.
2
Stage a photoshoot
Run through your experience as though it were real, and recruit friends to take part as guests.
3
Upload 15–20 photos
Select the strongest images across the four themes featured below.
Planning
The best photos can come from a well-planned session. Here are some recommendations to line up in advance.

Photographer
Ask a friend with a good eye to photograph the session so you can stay focused on hosting. Either a smartphone or a camera works, whatever’s easiest.

Guests
Invite 2–4 friends to take part as guests, and confirm everyone is comfortable appearing on your listing page. The closer to the real thing, the better.

Wardrobe
Wear something relevant to the experience; solid colors photograph best. Avoid branding, logos, and heavy patterns, and leave bags out of frame.

Lighting
Choose a day with good weather, and a time of day that suits your activity, especially if the light itself matters, like a sunset or evening experience.

Location
Select one or two of the most visually appealing locations guests can expect to visit during the experience. Scout the light there in advance.

Permissions
Confirm you have approval to photograph at every location, and only include recognizable business signage or logos with the owner’s permission.
Minimumrequirements
- Minimum resolution: 1024×683px or larger
- Color photos only: no black & white or heavy filters
- No stretched, tilted, or distorted images
- Sharp and well-lit — no blurry or dark photos
- No collages — submit individual images
- No text or logos overlaid on photos
Minimumrequirements
- Minimum resolution: 1024×683px or larger
- Color photos only: no black & white or heavy filters
- No stretched, tilted, or distorted images
- Sharp and well-lit — no blurry or dark photos
- No collages — submit individual images
- No text or logos overlaid on photos
Composition tips

What makes a strong photo
- Natural light — photograph when and where the light is strongest
- Action and people — guests want to see the experience happening
- A range of distances — wide, mid, and tight shots of the same moment
- True-to-life color — no filters or heavy edits
Center the activity
Photos are often cropped to a square, so anything near the edge of the frame can get cut off. Ask whoever’s photographing to center the subject with plenty of space around them, and to check that nothing important sits near an edge — watch for cut-off heads and limbs. Keep the action in the middle rather than at the edges; if it isn’t, reposition or zoom out.


Include variety
Capture a range of moments at three distances.


During the photoshoot
What to capture
Aim for 15–20 photos total, spread across these four themes:

The activity
5-6 imagesShows what guests will be doing

Details
4-5 imagesCaptures craft, tools, and finished results

Location
2-4 imagesEstablishes where the experience happens

Host portraits
4-5 imagesIntroduces you
The activity
The activity is the core of the experience. Focus on natural moments as you guide guests through doing, making, or tasting during the activity. Have the photographer move around the room/space, and capture the activity from all angles and distances.


Details
Get close to the action. Place the subject at the center of the frame with space around it, and isolate hands, tools, processes, and small moments against clean, uncluttered backgrounds. Capture four kinds of detail shot:

Host & guest engagement

Tools & equipment

Process details

Final product
Location
We recommend capturing the space before the activity takes place to get clean, empty environments. You will be expected to get permission to photograph at the location.

Exteriors

Interiors

Monuments

Rural/Outdoors
Host photos
Three kinds of host photo, each doing a different job: showing you at work, introducing you, and identifying you clearly. If your experience has more than one host, capture everyone together and each host individually. The host portrait can be posed, but guests should be captured immersed in the activity.

Immersed in activity
Cooking, guiding, greeting, doing the thing guests came for. Photograph wide enough to show the setting and let hands, tools, and surroundings tell the story. Candid over posed; no eye contact needed.

Environmental portraits
You on your own. Natural light, eye contact, relaxed posture, with enough of the room visible to say something about you. This is the introduction, warm and specific.

Profile photo
A well-lit close-up that clearly identifies you, taken by someone else from about three feet away. Look directly into the lens, and offer a warm, natural smile. Will be cropped as a circle.
Learn moreThe final selection
Selecting the best images
We recommend uploading 15-20 photos to your listing. The photos you upload will appear in four places on your listing page. Here’s what each photo does on your listing page.
1 of 1 pages


The cover
1 imageThe first image guests see. A critical image that conveys the activity.
The itinerary
4-7 imagesImages that clearly showcase key highlights of the activity.
Profile photo
The profile photo
1 imageA clear, friendly portrait of you, cropped as a tight circle.
The gallery
9-11 imagesAdditional images that tell the full story of your experience.
Update your descriptions
After uploading your final selection, revisit your photo captions and section text so they match your new images. Together they tell the complete story of your listing.

What to avoid
Posing

Overtly posed
Photos should feel candid and natural. Avoid stiff poses and hand gestures.

Backs turned
Avoid capturing groups from behind. Photograph them coming toward you instead.

Always pointing
Limit pointing to one or two photos. Instead use other natural gestures.

Selfies
Avoid selfies. Ask a friend to photograph you for a clearer, steadier shot.
Technical quality
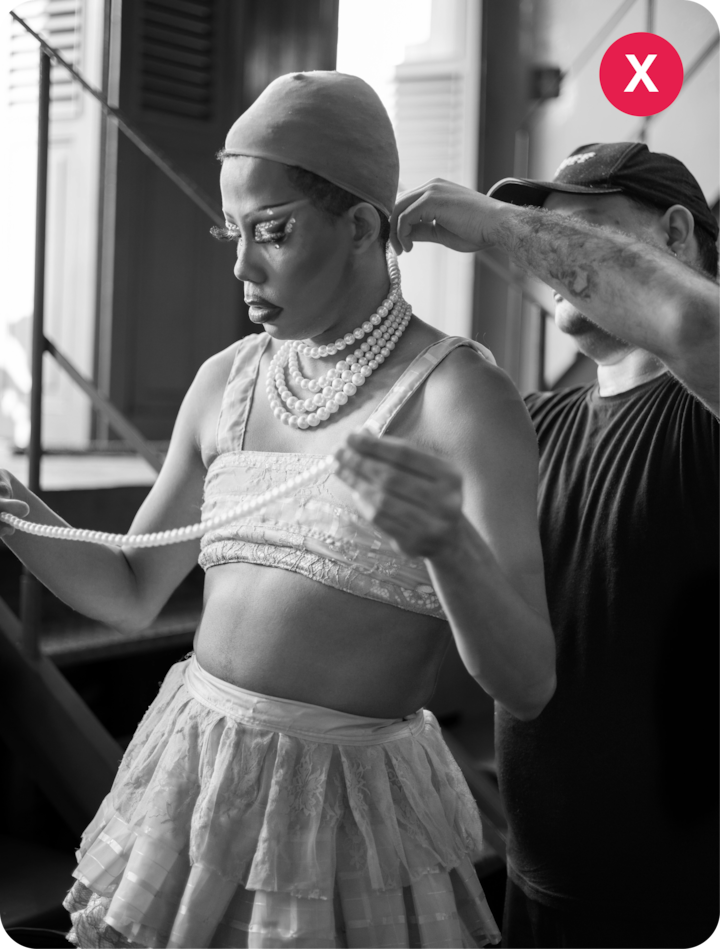
Heavy retouching
Avoid heavy filters, retouching, and black & white. Keep color true to life.
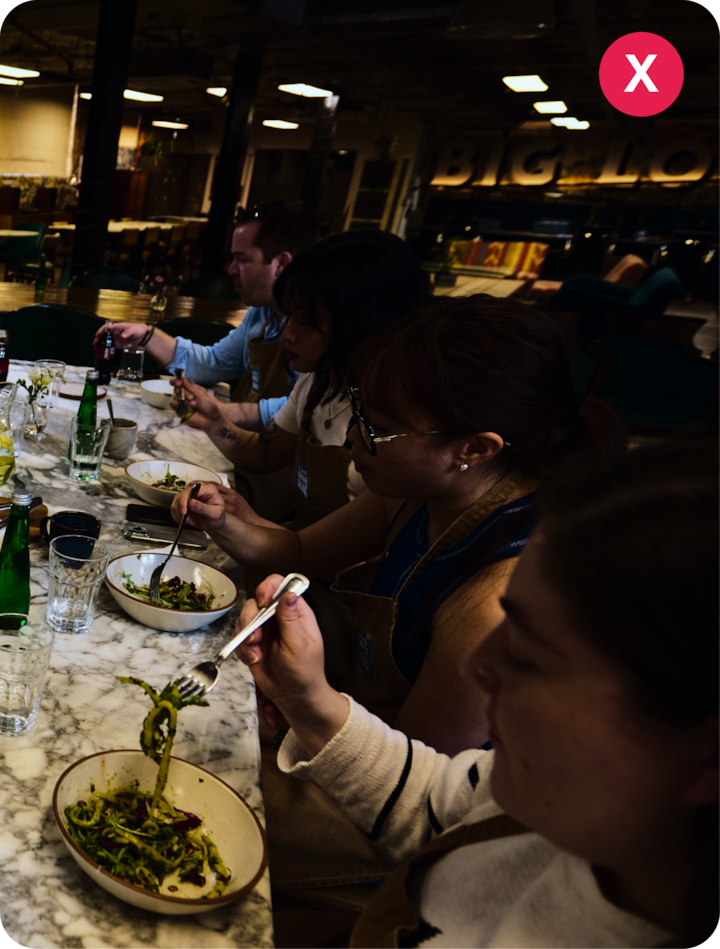
Dark photos
Avoid dark photos. Capture near windows, lamps, or outdoors where possible.

Blurry photos
Blurry or out-of-focus photos are hard to read. Hold steady and check focus.
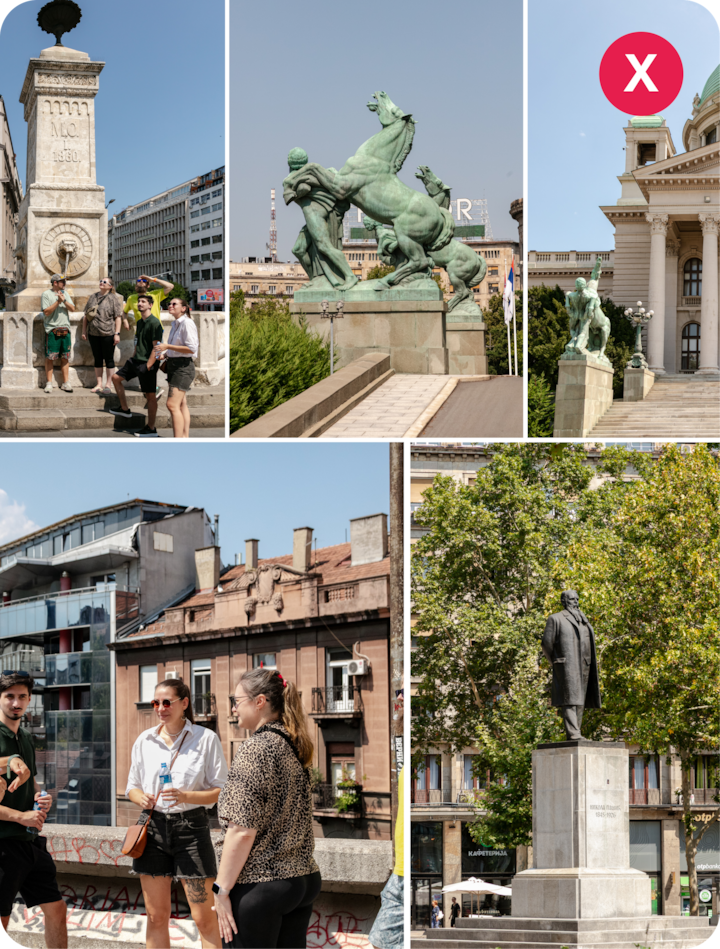
Collages
Avoid combining several images into one collage. Upload each photo separately.
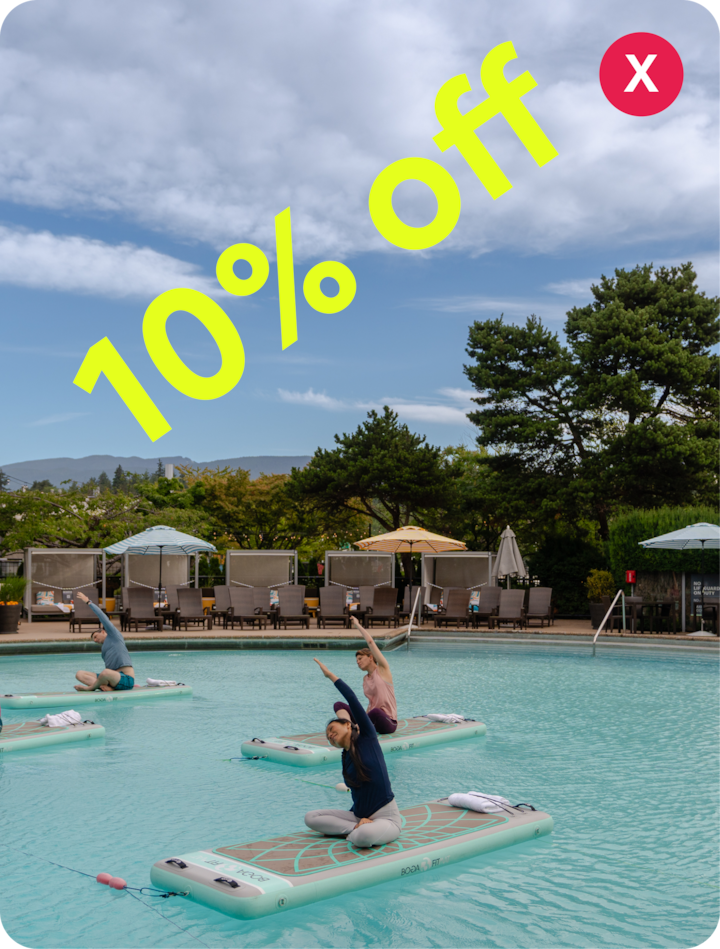
Text overlays
Avoid text or logos over the image, and clothing with visible branding.
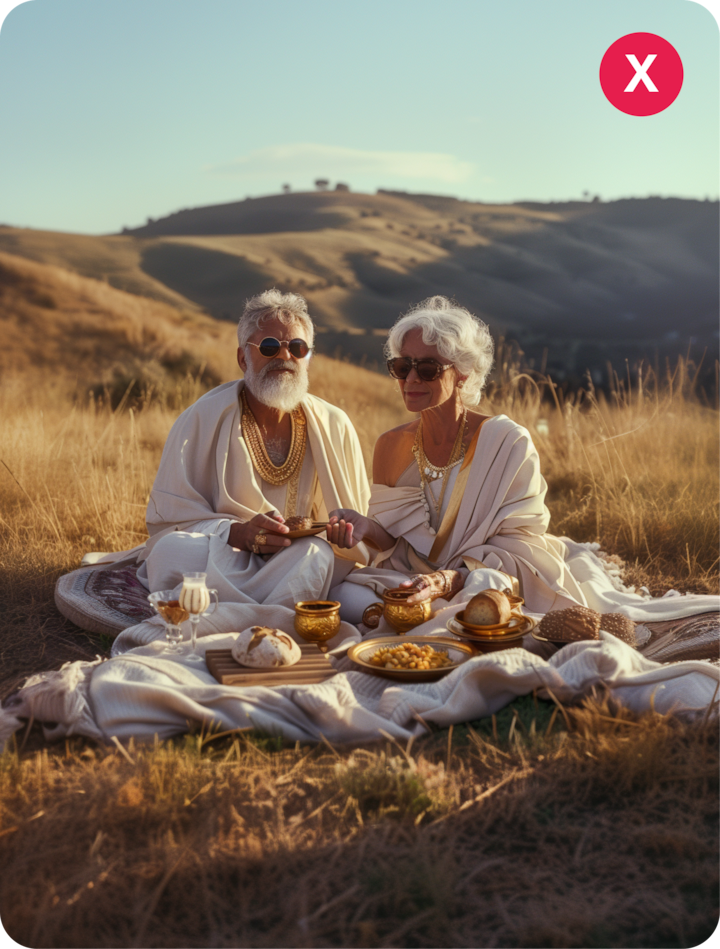
AI images
Avoid combining several images into one collage. Upload each photo separately.
Low quality photos
Avoid stock photos, screenshots, and anything below the resolution minimum.
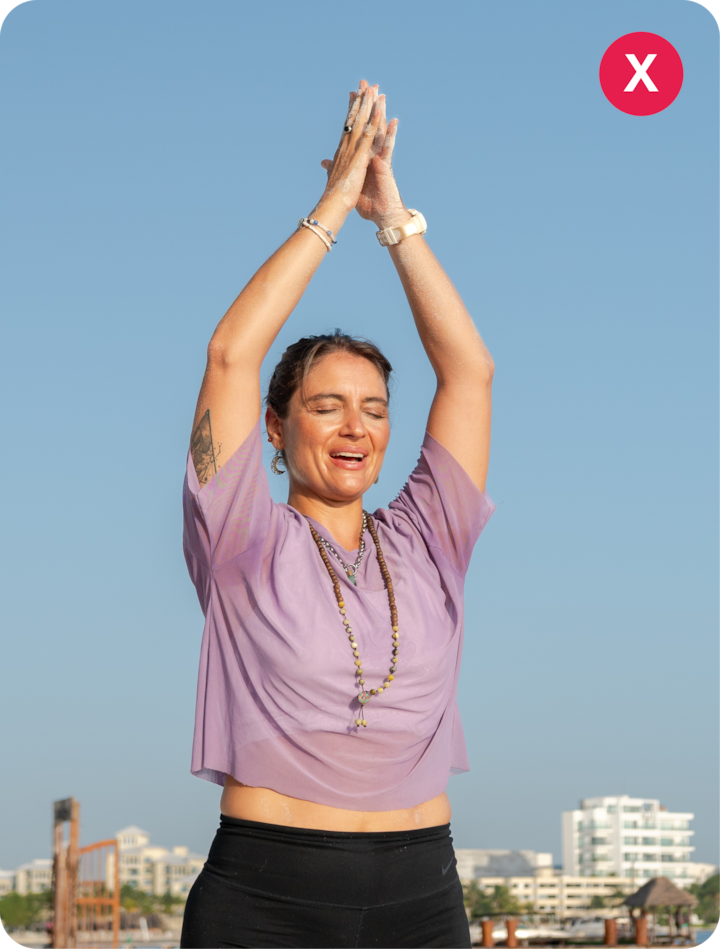
Duplicate photos
Avoid near-identical images. A varied set gives us much more to work with.
Content, rights, and safety
Avoid including any third-party intellectual property (such as art, brand names, landmarks, or logos) unless a materials release has been signed by an authorized owner of that intellectual property.

Children
Minors must be accompanied by a parent or guardian, and photographed only upon permission of the parent or guardian.

Alcohol
Alcohol may appear only where it’s being legally served — a bar, restaurant, or tasting room. No images of people drinking anywhere else.

Explicit content
No nudity or partial nudity, no illegal drugs or drug paraphernalia, and no sexual, violent, or otherwise graphic imagery.

Animals
Show captive animals in conditions that visibly reflect good care, and wild animals only at a distance — never in physical contact with people.
The content of this page is proprietary and confidential information of Airbnb and shall not be used, disclosed or reproduced, in whole or in part, for any purpose without the prior written consent of Airbnb.